4) Basic Shading
and Grouping Layers
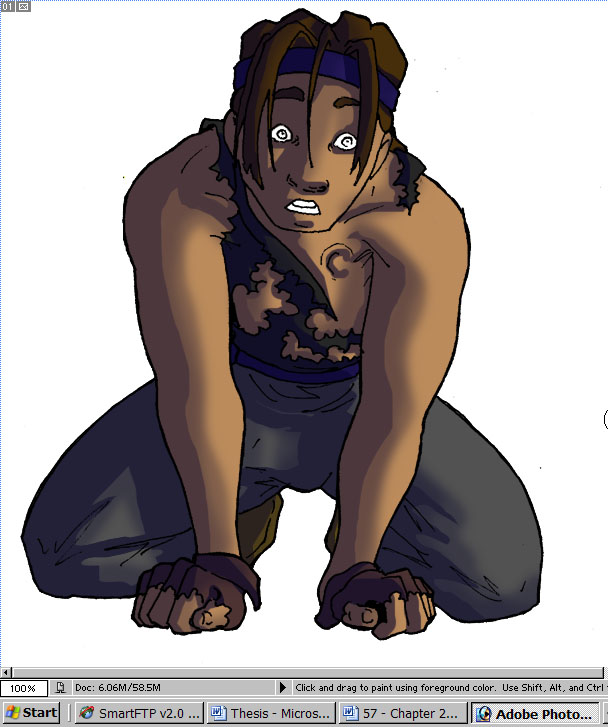
Shading
is where it gets good. Shading makes images three-dimensional.
I like to start shading on the skin layer first, so I'll
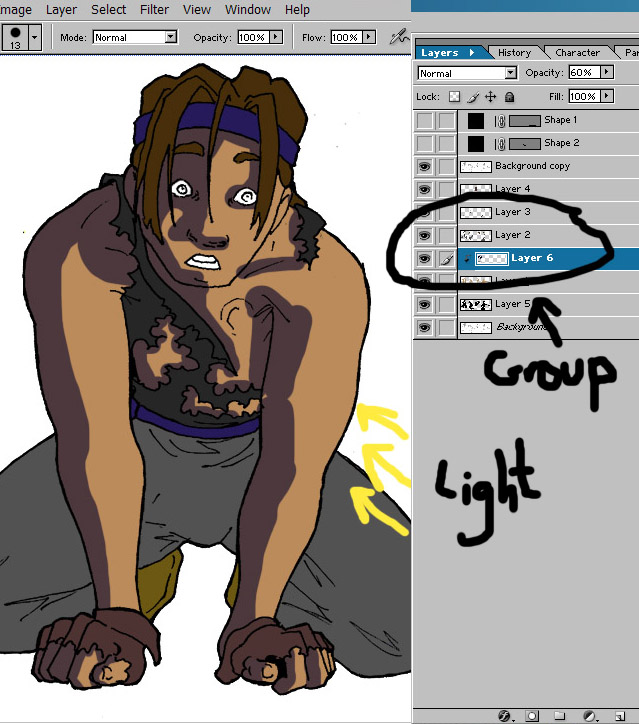
go from there. Above the skin layer (layer 1) I insert a
new layer. Then I "group" it to the layer beneath
by pressing control+g (in photoshop CSII, this is called
"clipping mask" and the short cut is "control+alt+g").
Grouping this onto the skin layer means that any color I
put on the new layer will only show up where that color
on the skin. So I can be as messy as I want. Which I quite
am in this step.
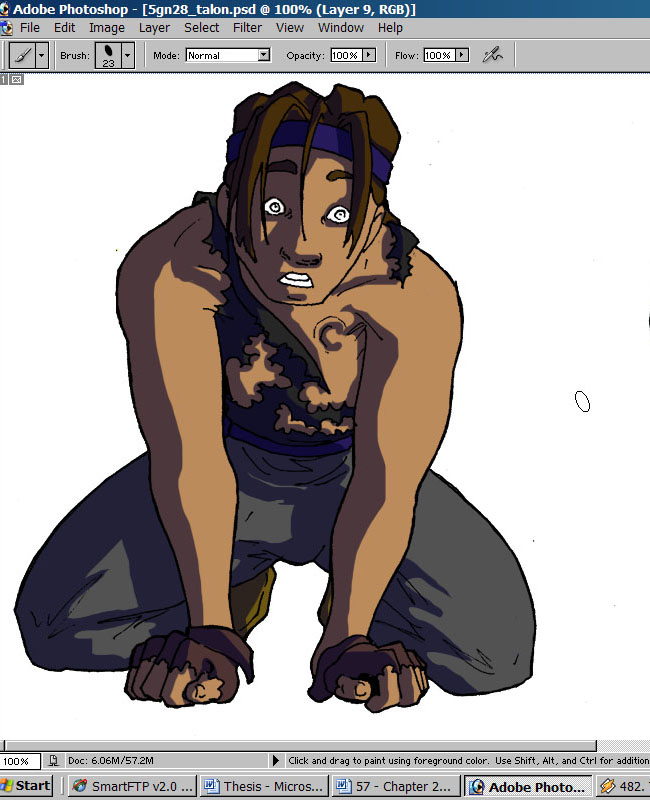
I shade
using an elliptical brush at 100% hardness and 1% spacing.
These values can be changed in the "brushes" tab.
I also use dark colors at a high saturation. The shading
below is in a dark blue because it's night, but the grouped
layer is set to 60% opacity so it wouldn't be too dark.
It's
very important at this step to have a defined light source,
and to always stick to it. Nothing looks weirder than skin
shaded in one direction and clothes in the other. In this
step, I also shade MORE than what I want, because the next
step is erasing it.